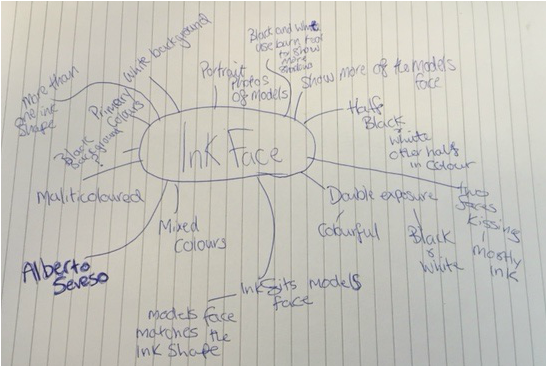
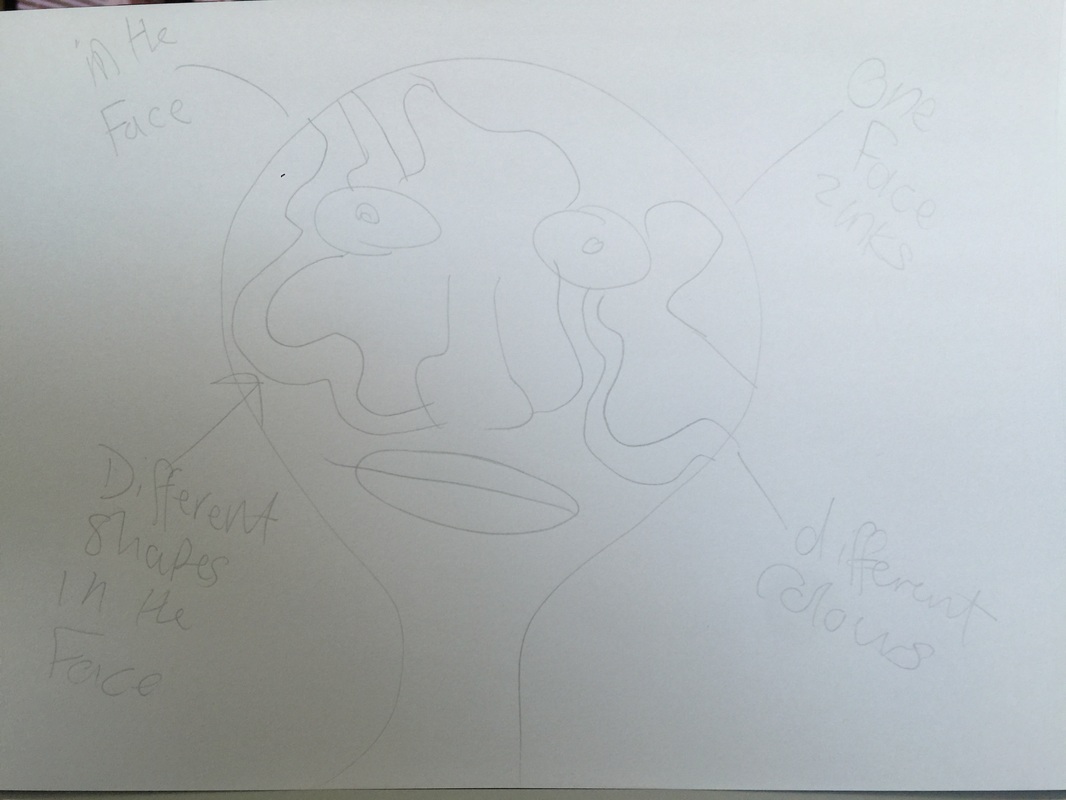
Brainstorm/Draft Sketch
|
|
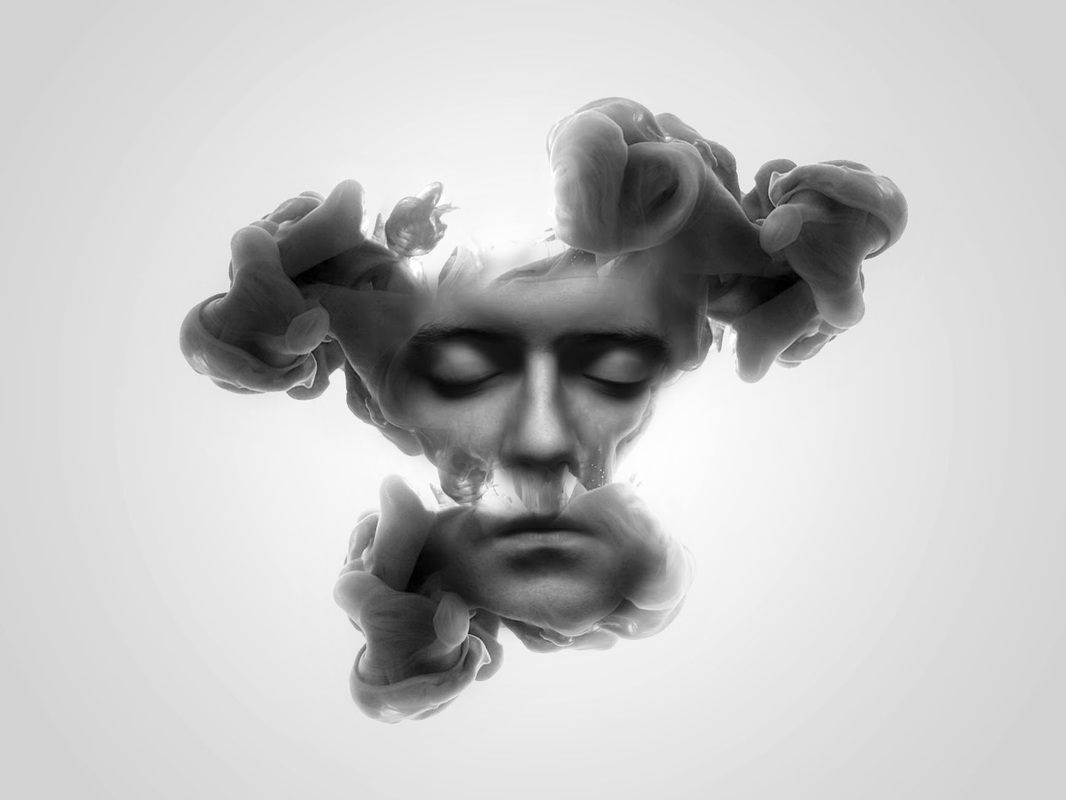
Alberto Seveso

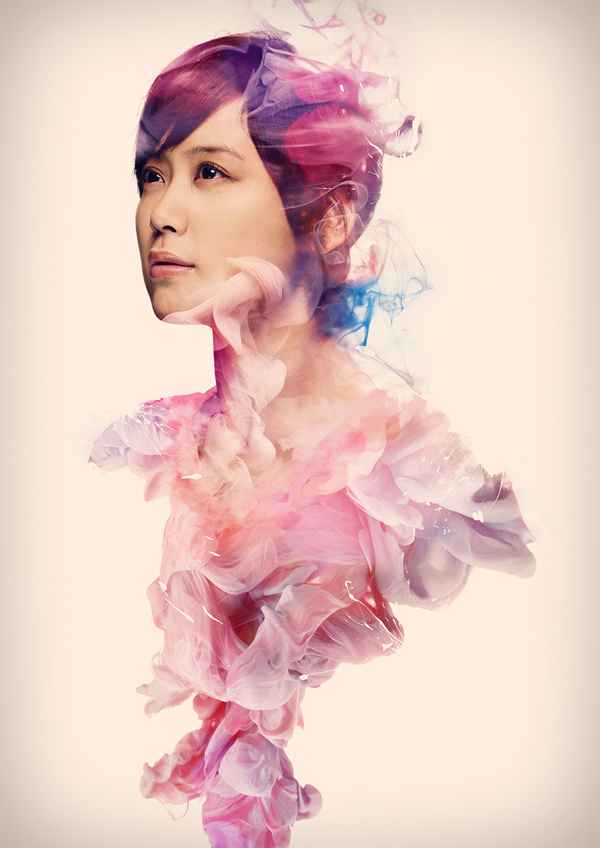
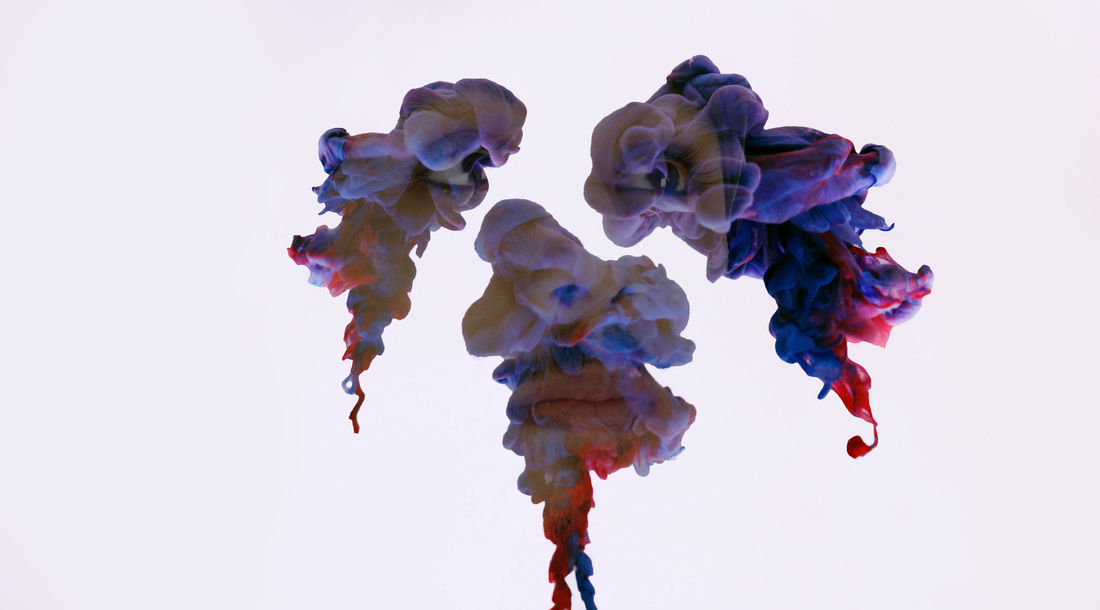
Alberto Seveso is a Italian illustrator and digital photographer and most of his work uses a lot of photoshop and his ink photography shows more than one colour and Alberto Seveso also does pictures that have a models face and then has been heavily photoshoped with a lot of different colours and shapes and sizes.
|

|
|
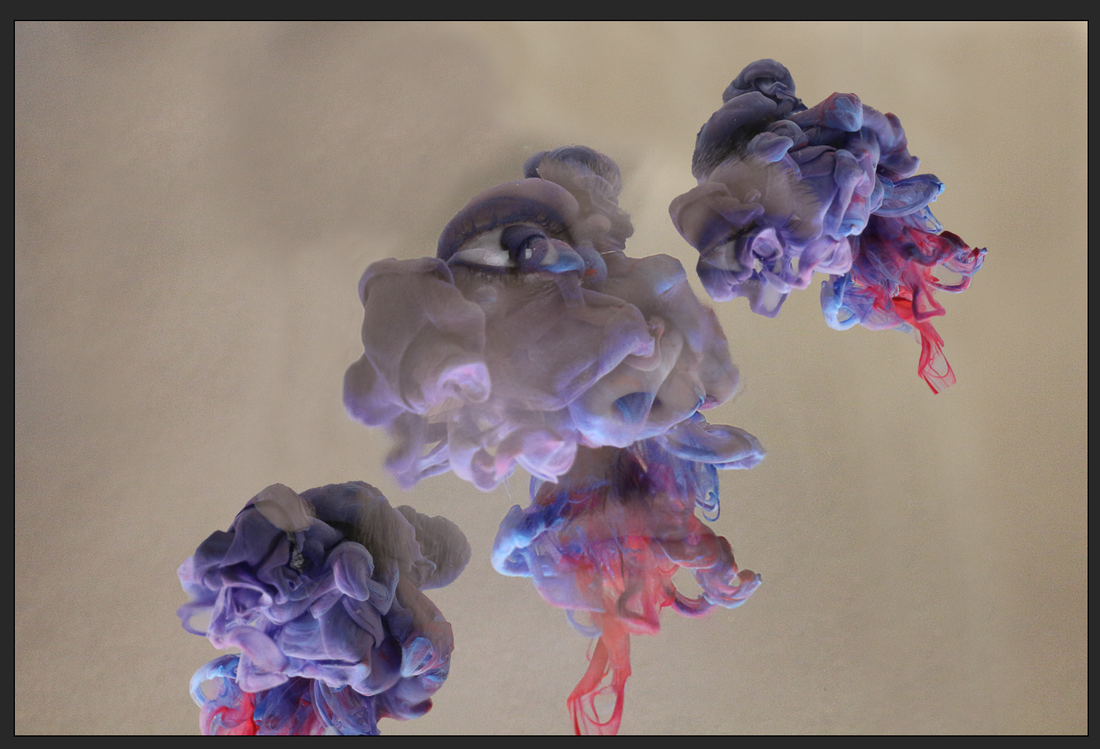
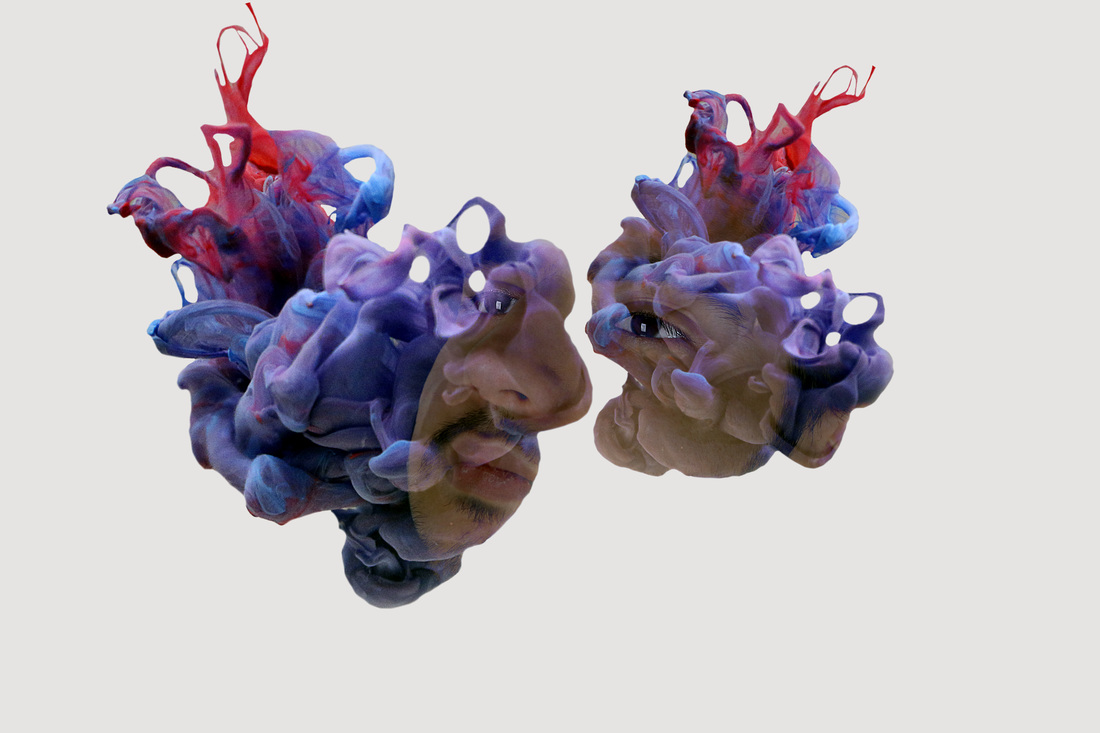
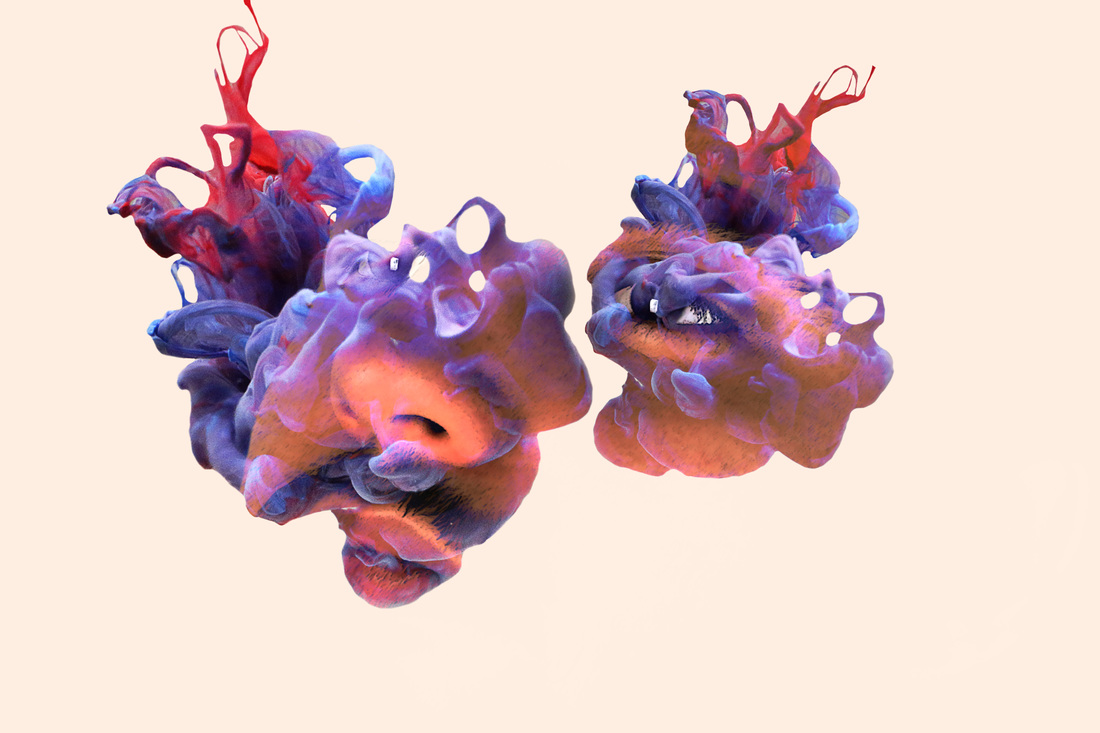
Other images with ink and models face merged together that Alberto Seveso he has different styles of making the image some of the images he has half of the ink shape mix with models face and the other style he edit's in is where the models face is mix with the inks shape and you are able to see parts of the models face but not all of the face like other editing style.
Google Images

|
|
|
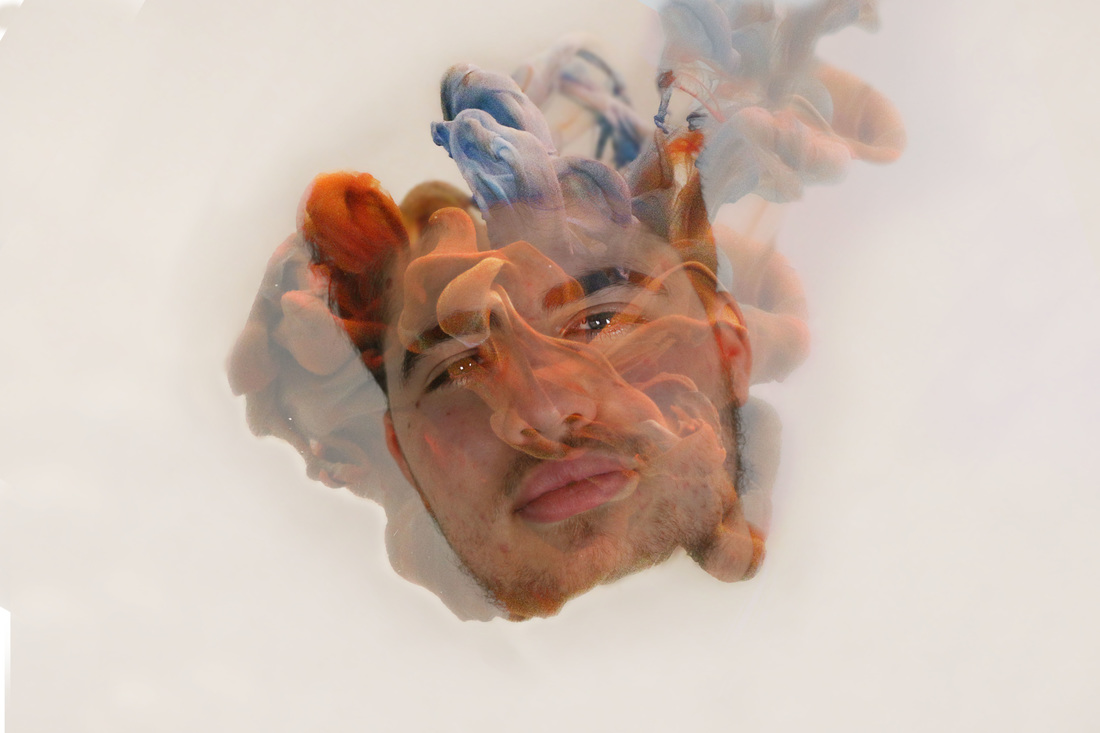
This image that I found on Google I thought was good because the editor was able to use two ink images and show some parts of the models face's and some parts of the ink is shaped to the models face.
|
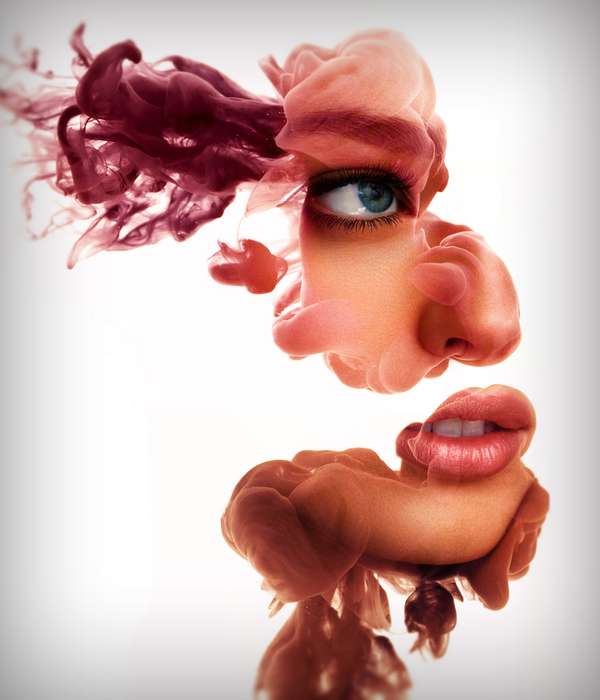
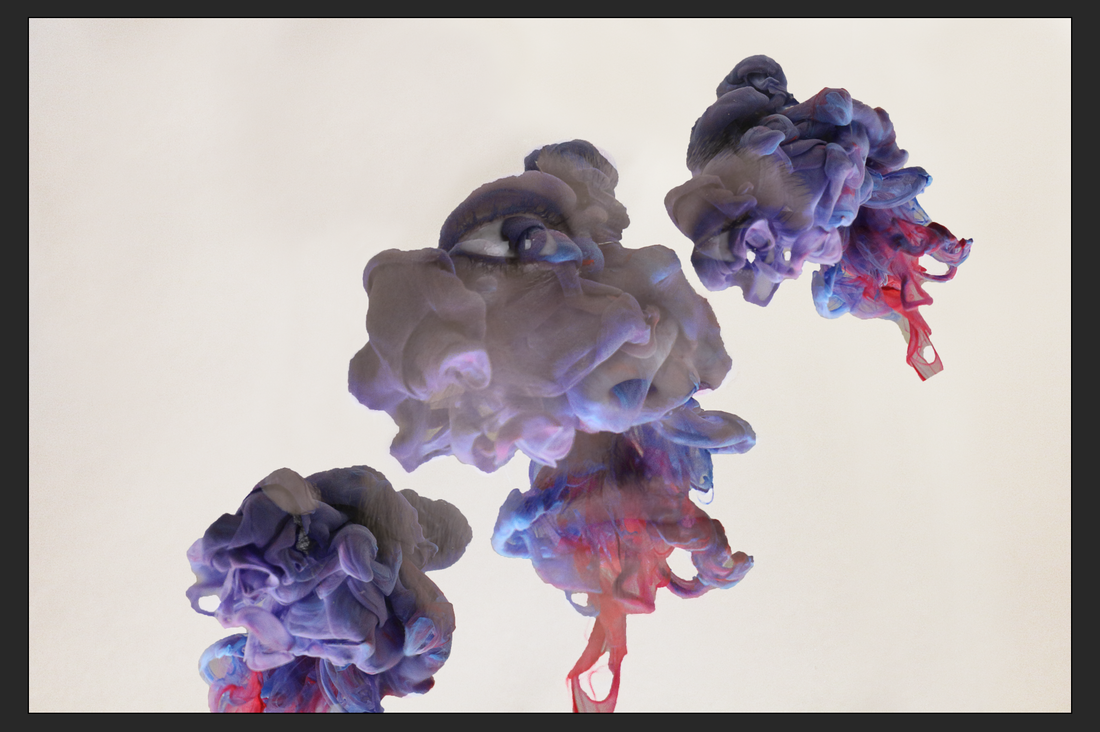
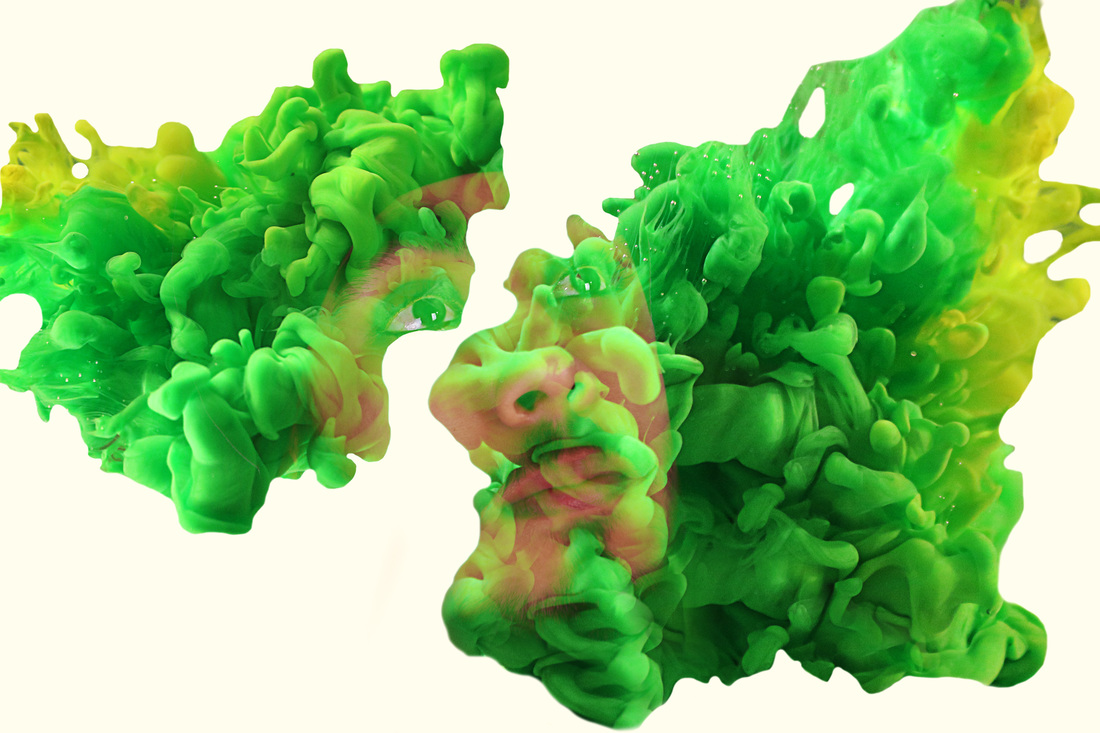
This image I found on Google is also good because the editor was able to use the models face and blend the face in with the ink and the image doesn't have any colour so you can see the shadows in parts of the ink.
|
Photoshoot 1
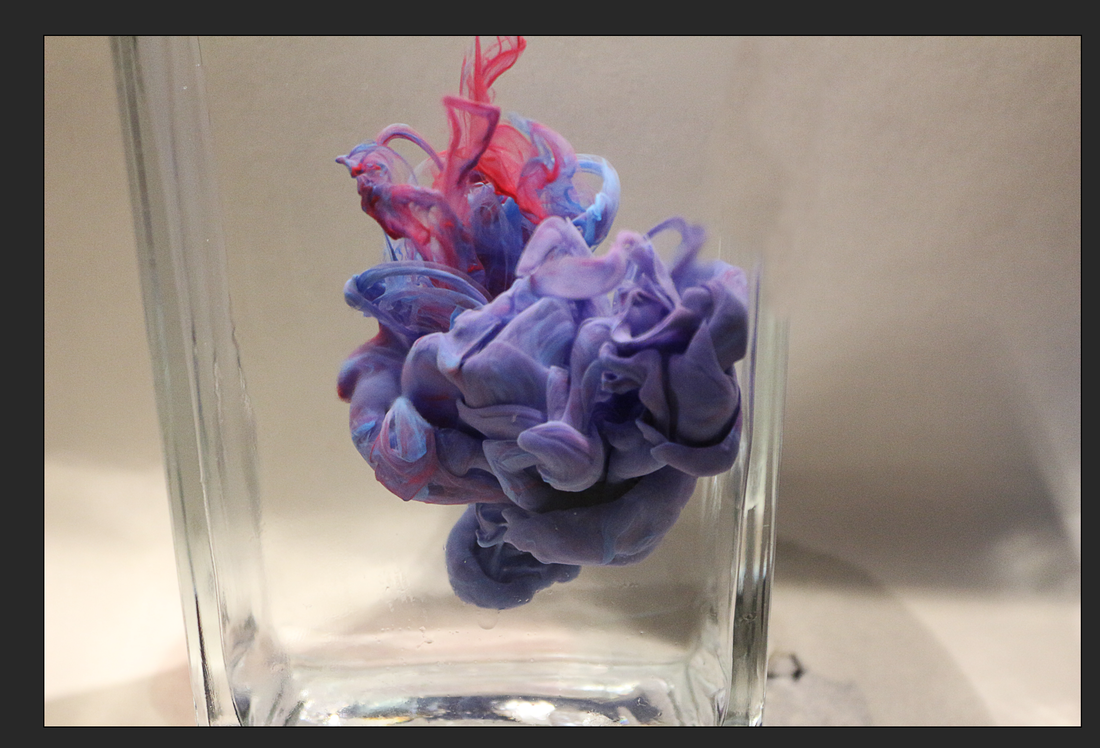
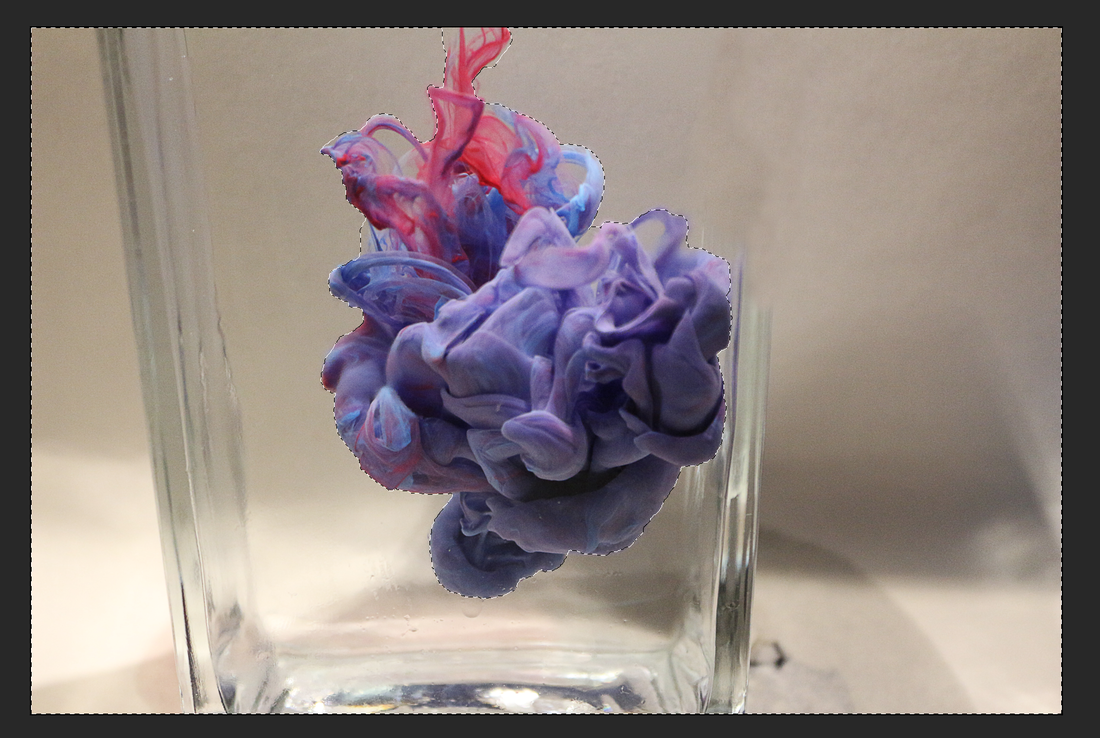
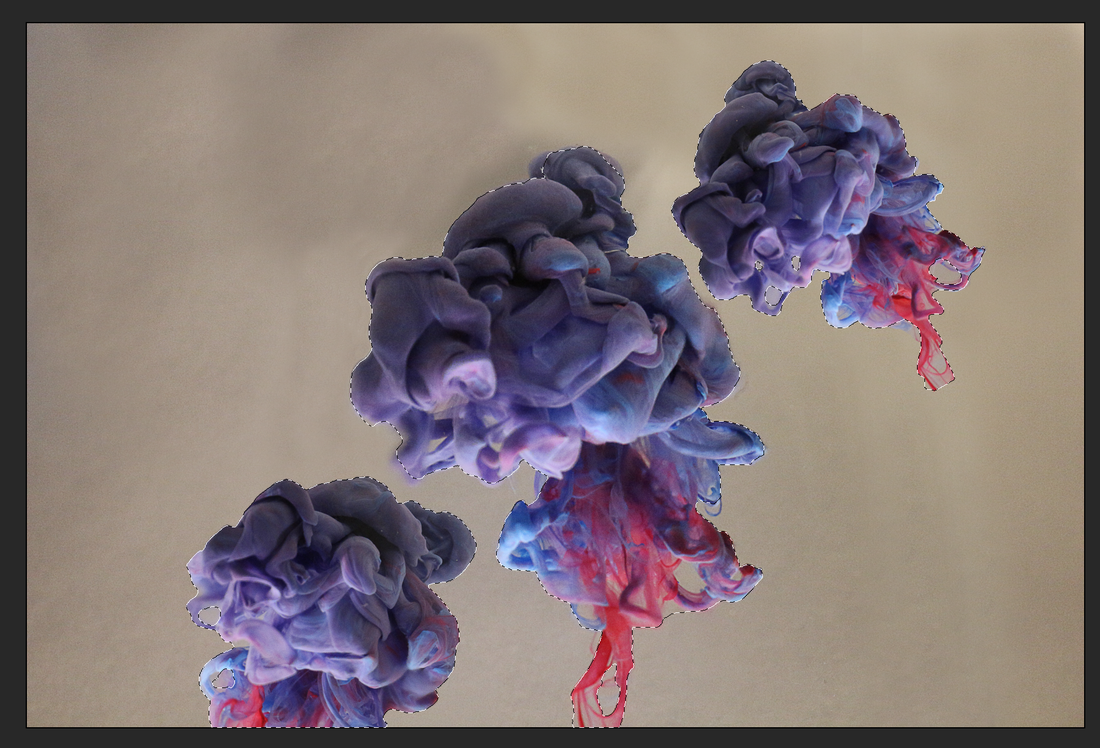
For this photoshoot I used blue ink and red ink to put them into cold water and this photoshoot went good because of the way the blue and the red mixed together to make purple but you are still able to see the blue and the red in the water. I was able to manual focus on the inks faster this time but the problem is that the glass had condensation on it so part of the ink is blurry because of the condensation of the glass.
Photoshoot 2
This photoshoot went well because of the shape the ink made when it entered the water and I was also able to manual focus onto the ink, also the shape that the ink made as it went further into the water it expanded and went from a small shape to a big shape so that was useful because of the different shapes that I needed from the ink I needed different shapes and sizes because of when editing the ink to merge with the models face I need different shapes from the same colour so that they match.
Photoshoot 3
This photoshoot was also a good photoshoot because of how the two different colours merged together and I was able to capture the ink falling down in focus and how the ink expanded as it went further down in the water. The two ink colours didn't fully merge together which was good because of when editing the images I am able to play around with the different colours and place them in different ways.
Photoshop Tutorial
This is the original ink image with nothing done to it.
|
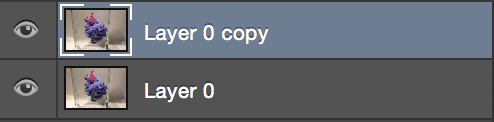
First step I do is duplicate the layer.
|

Then I apply a high pass filter to the ink image so that more detail is brought out of the image and so the image is more sharp.
|
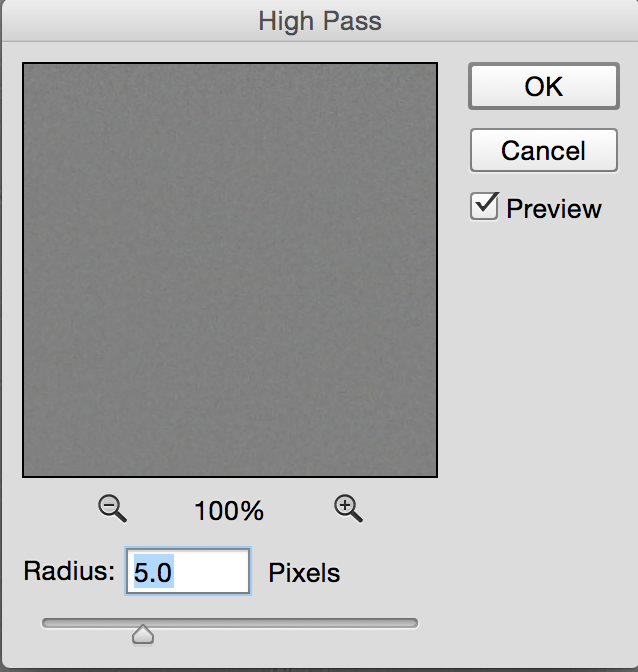
This is the screen where you can choose how much detail you want to bring out of the image and how sharp you want the image to be.
|

This is what the image looks like when the high pass filter is applied to the image.
|

Then I choose the overlay layer option so that I am able to see how sharp the image is after the filter is applied.
|

Then I merge the two layers together so that when I am editing the image the process is applied to both layers and not just one layer.
|
This is how the image looks like when the layers are both merged together and the high pass filter is applied to the image.
|
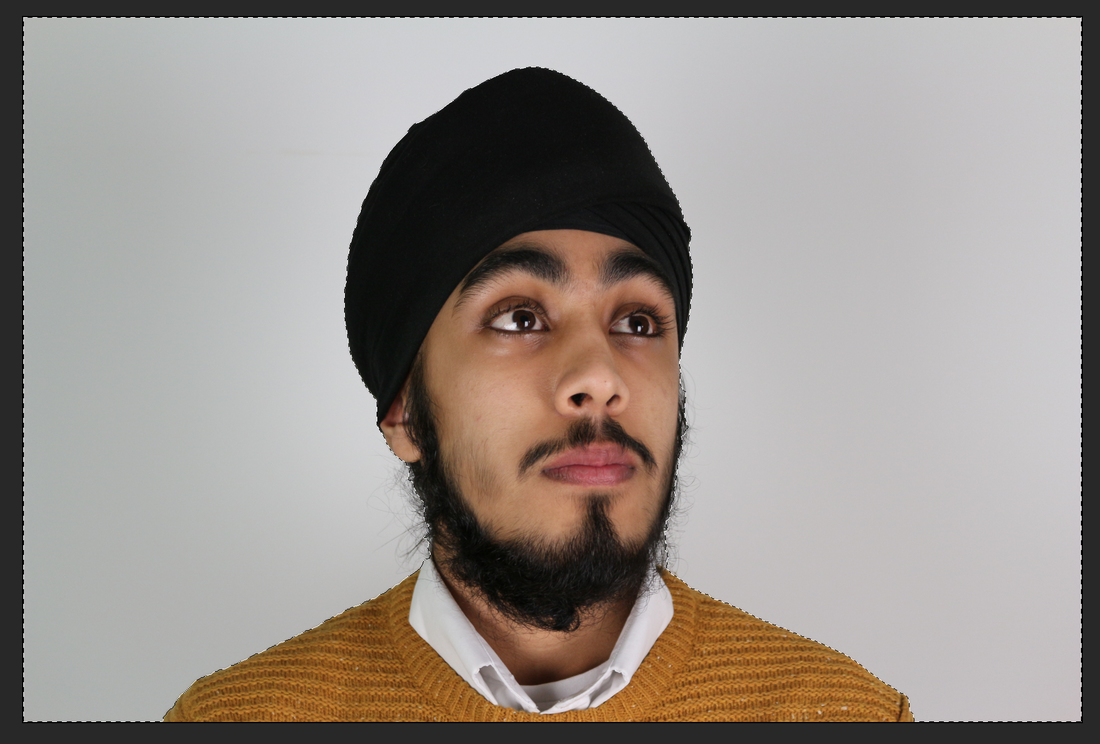
This is the original image of my model with nothing done to the image.
|

I used the "Quick Selection Tool" so that I can remove the background.
|
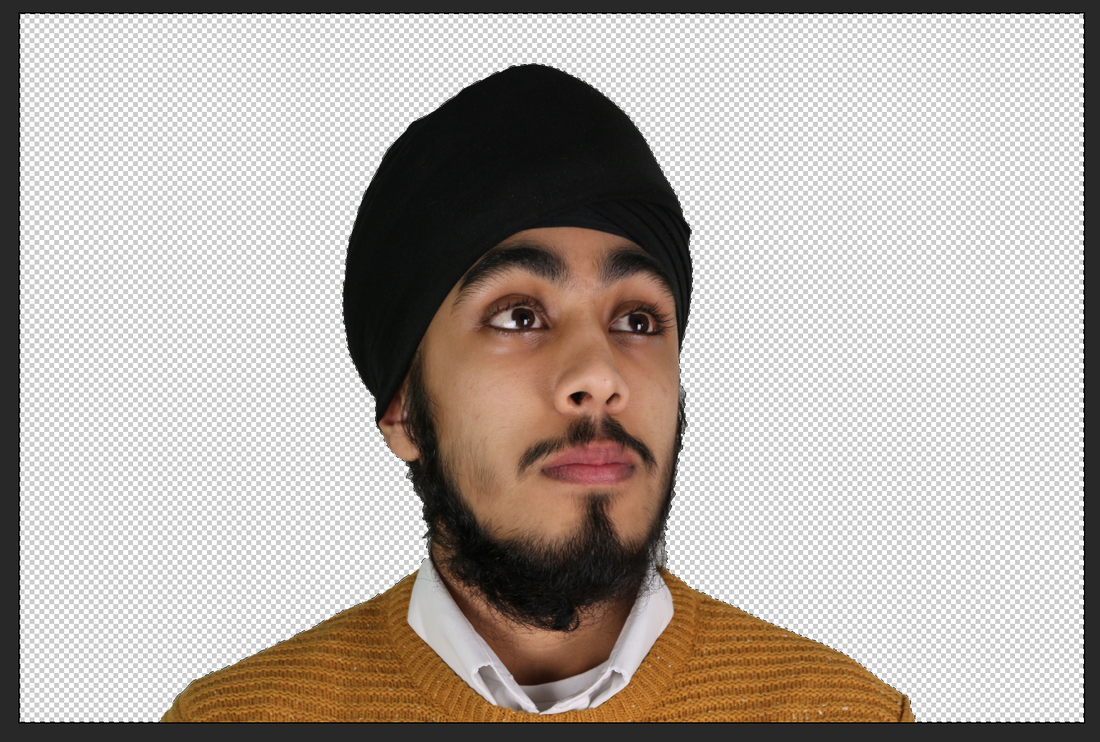
This is how the model looks like with background removed.
|

Then with the ink layer I duplicate the image and move the images around to make them smaller and in different positions.
|
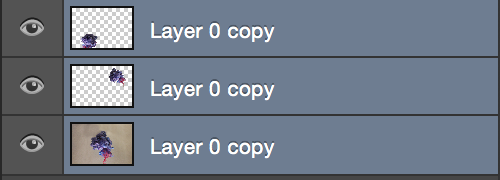
Then I select the ink layers and merge them together so that there isn't too many layers open and so that when editing the layers it is applied to all the layers
|
Then I use the Quick selection tool again to highlight the parts of the ink I want to keep and want to make smooth because of the other two images having hard edges.
|
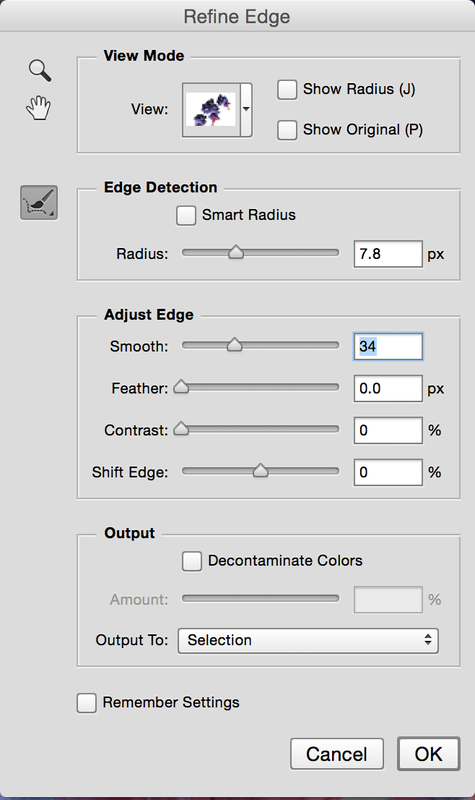
Then with the image still highlighted I use the "Refine Edge" so that the edges of the image are smooth and not have a hard edge.
|

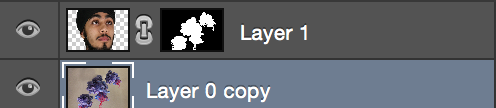
Then I press the layer mask button so that there is a layer mask of the ink's shapes.
|
Then I bring in the models layer into the same image and apply the inks layer mask onto the models layer so that the models face isn't just on top of the ink and so that it takes on the shape of ink.
|
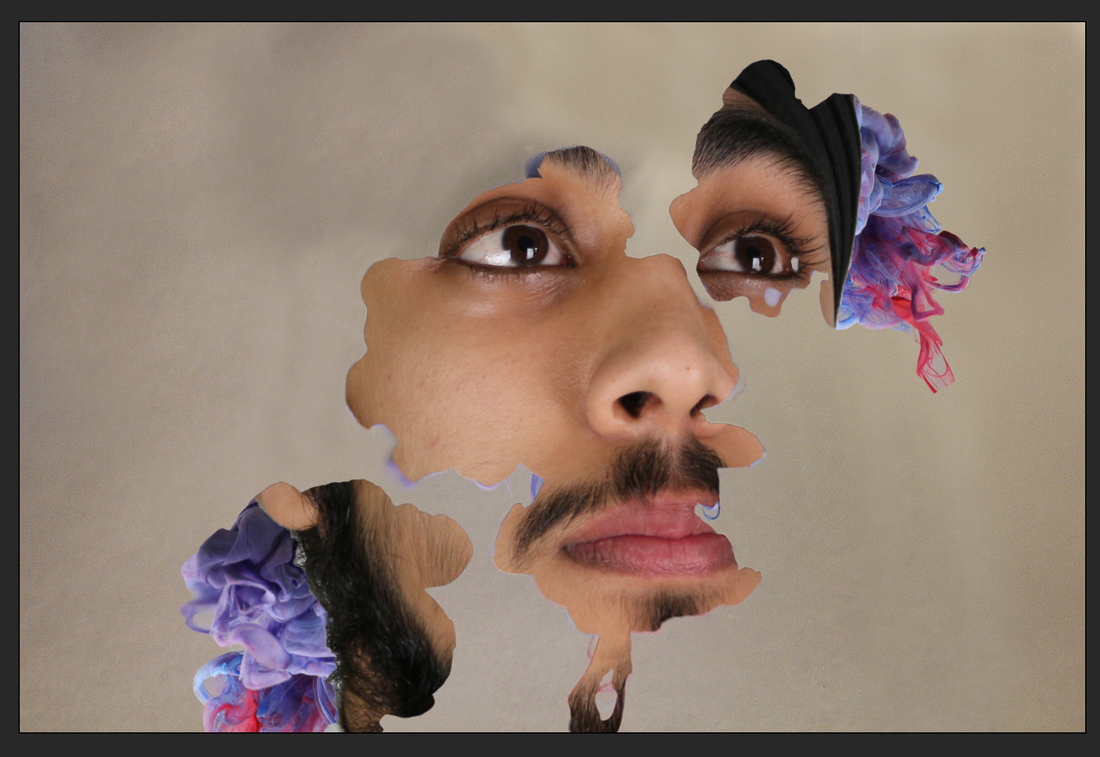
This is what the image looks like when the layer mask from the inks are applied to the models face some parts of the models face is missing and has taken on the inks shape.
|

Then I use the lighten layer option so that models face isn't so strong and so you are able to see the ink though the models face .
|
This is what the image looks like with the "Lighten" layer option looks like where you are able to see the ink though the models face and the models face isn't so strong.
|

Then is use the "Dodge" tool so that the background of the image isn't dark and so that I looks more clean and brighter.
|
This is what the image looks like when the whole editing process is done.
|
Experimentation
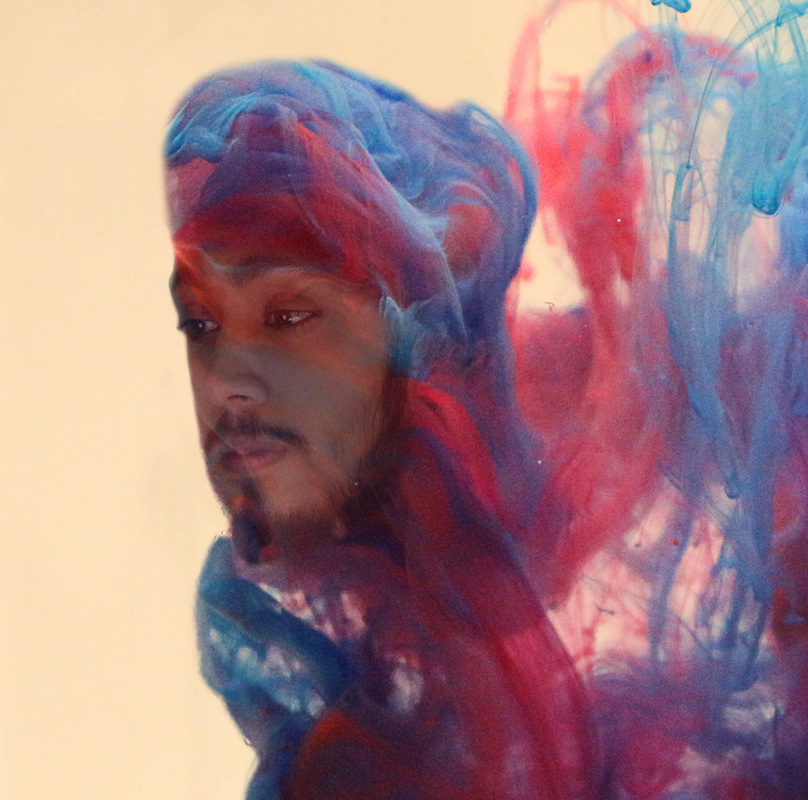
For this edited image I was able to merge the face of my model into the ink because my model wears a turban I was able to shape part of the ink to look like it is turban I did this by using the "Clone Stamp" tool which made it easier to shape the ink. I also turned down the opacity so that the face of my model didn't look completely out of place and so that you are able to see the ink behind the face.
For this edited image I tried something different were the face of my model is shaped to the ink and you are not able to see some parts of the face because of the ink isn't covering that part of the face and how I was able to so this is of the "Vector Mask" and I used the "Quick Selection" tool to select the ink and then added the "Vector Mask" on the models face layer so that the shape of the ink is on the models face and some parts of the face are missing.
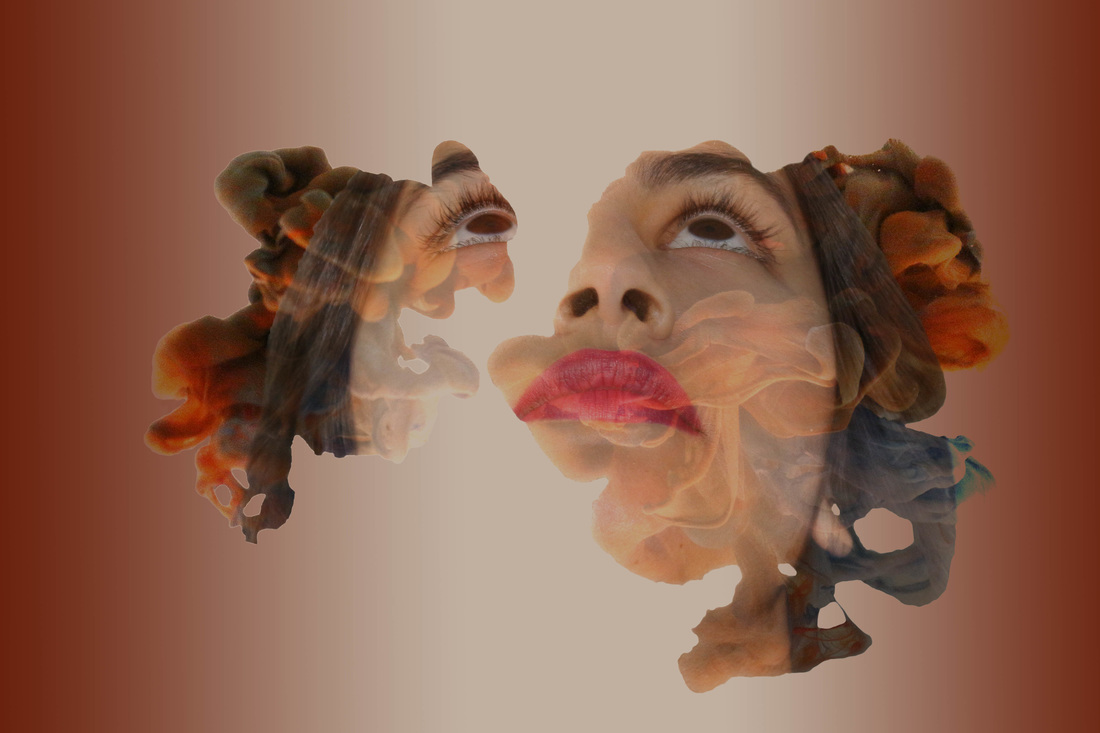
For this edited image I used three different ink images to put together and so that when I use the "Vector Mask" the models face isn't just shaped to one image so I used three images so that each ink image has some part of the face in side of it. I also used the "Dodge" tool to make the background more brighter than the original image.
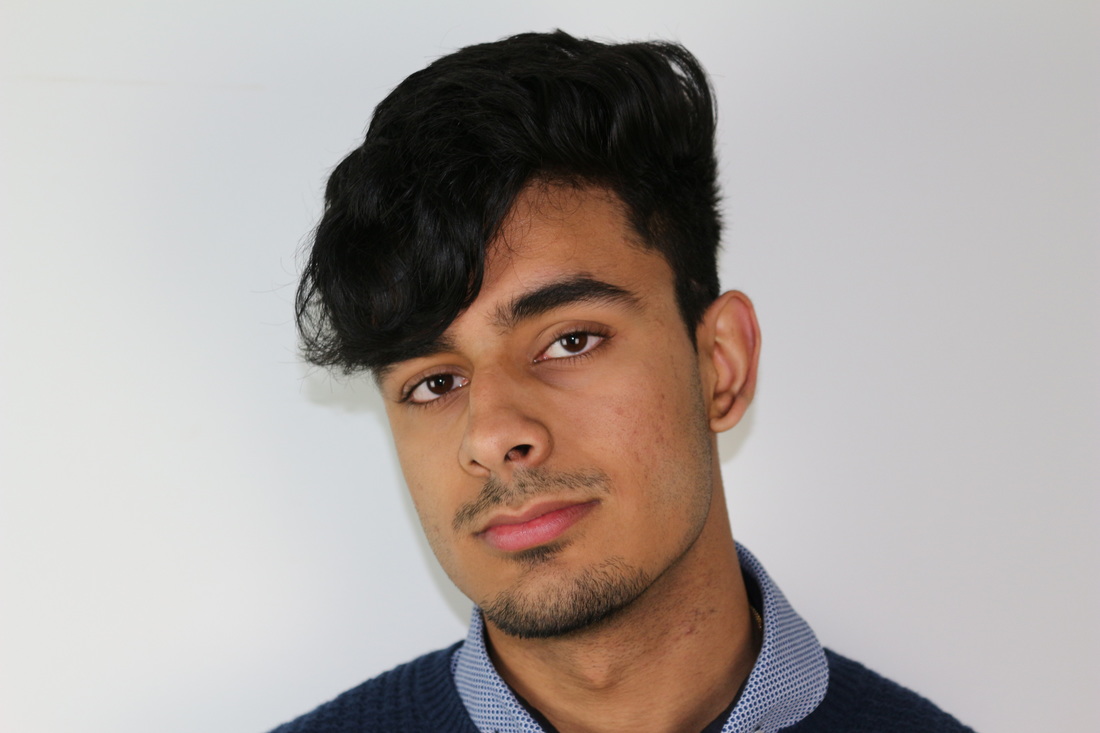
Photoshoot 1
For this photoshoot I got my model to do a lot of different poses so that when I took the images to photoshop I had a lot to work with and have a lot of images to choose from so that I am not limited one only a few images and this photoshoot went well because I was able to get a lot of different close up images of my models face.
Experimentation
For this edited image I used a different model and a different editing technique where I used the "High Pass" filter and used the "Lighten" layer mode so that the model will fit in with the ink in the background and I turned down the opacity so the model isn't just on top of the ink and it looks like he fades into the ink.
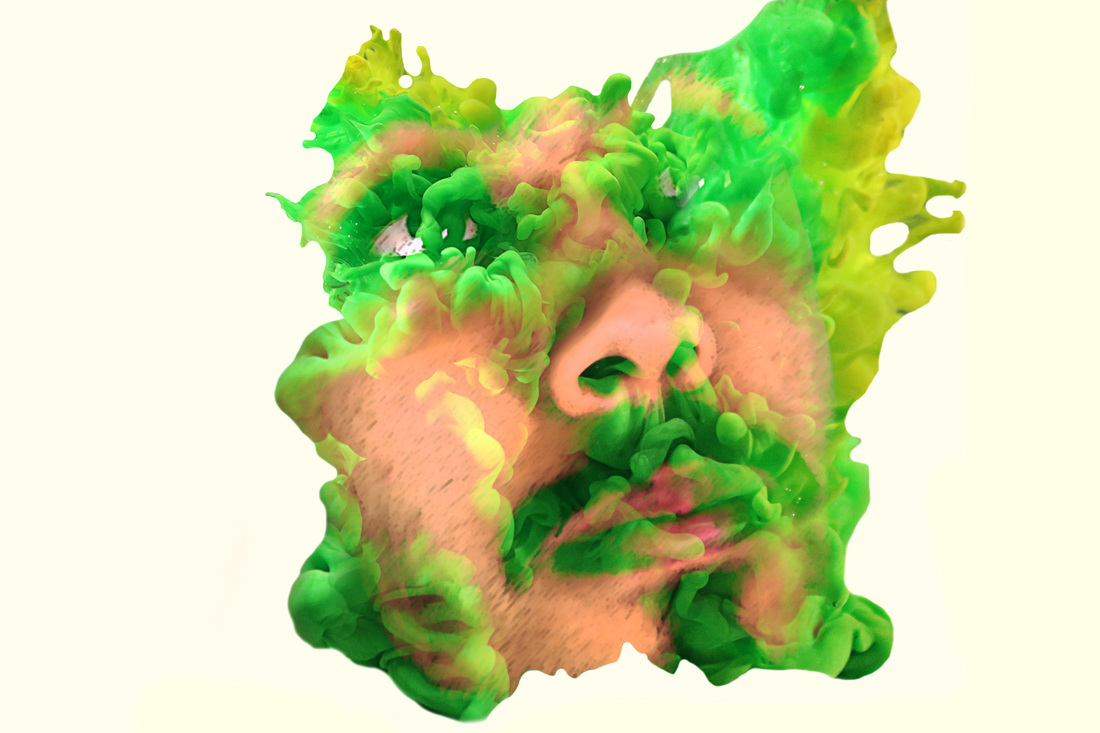
For this edited image I tried to use two ink images and tried to split the models face and try and blend the two together and I used the "Lighten" layer option so that the models face will blend in and that it will show on the inks and this is starting to look like the photographers work. I also to make the models eyes stand out more to the rest of the face I used the "High Pass" filter and erased the rest of the face and left the eyes so that they would stand out more.
This edited image is better than before because of I was able to make the models face bigger and used a filter called "Sumi-e" which makes the image darker in some places like on hair and lighter on some places like the cheeks of the model. Also I made some parts of the like darker so that you are able to see the ink though the models face.
Photoshoot 2
For this photoshoot I got my model to do the same thing and do a lot of different poses so that I have a lot to work with but my model found it hard to keep a straight face because he wasn't as experienced as my last model but in this photoshoot at first I tried to use the black background but when looking at the photos it was better that my model stood in front of the white background because of it was easier to edit out the background.
I think that for this edited image that the colours of the ink match the models face and the shapes of the ink are good because they are easier to place on the canvas because of the top of the inks have little antennas also that the inks have three different colours on them so that they are not boring to look at and so that they are not plain and the models face sort of blends in with the ink.
I think that this edited image is much better compared to the first edited image because of the models face is shown more and there is less ink shown but that you are still able to see parts of the ink though the models face also I used the "Sumi-e" filter so that some parts of the models face is smooth hand that the hairs of the model are darker and stand out more.
Photoshoot 3
For this photoshoot I tried to have my model sit on a chair and try and do some poses abut then i tried to take photos of my model close up and I tried to take them in a mid shot but with my model standing up because of my model was able to do more poses I also tried with different lighting to see what it would look like in photoshop and to see if it was easier to edit the background out of the image.
For this edited photo i tried to use two different ink photos with the models face and try to merge the models face with the two inks which I found to be successful with the colours of the ink matched the models face but I think that with this edited image the models face isn't showed enough and that the face isn't taking a lot of the ink.
For this edited image I think went well because of how the models face is bigger and because of the filter called "Sumi-e" it shows more of detail in the models face and it gives the models face a cartoon effect and smooths the face more and darkens the hair more and lightens other parts of the models face.
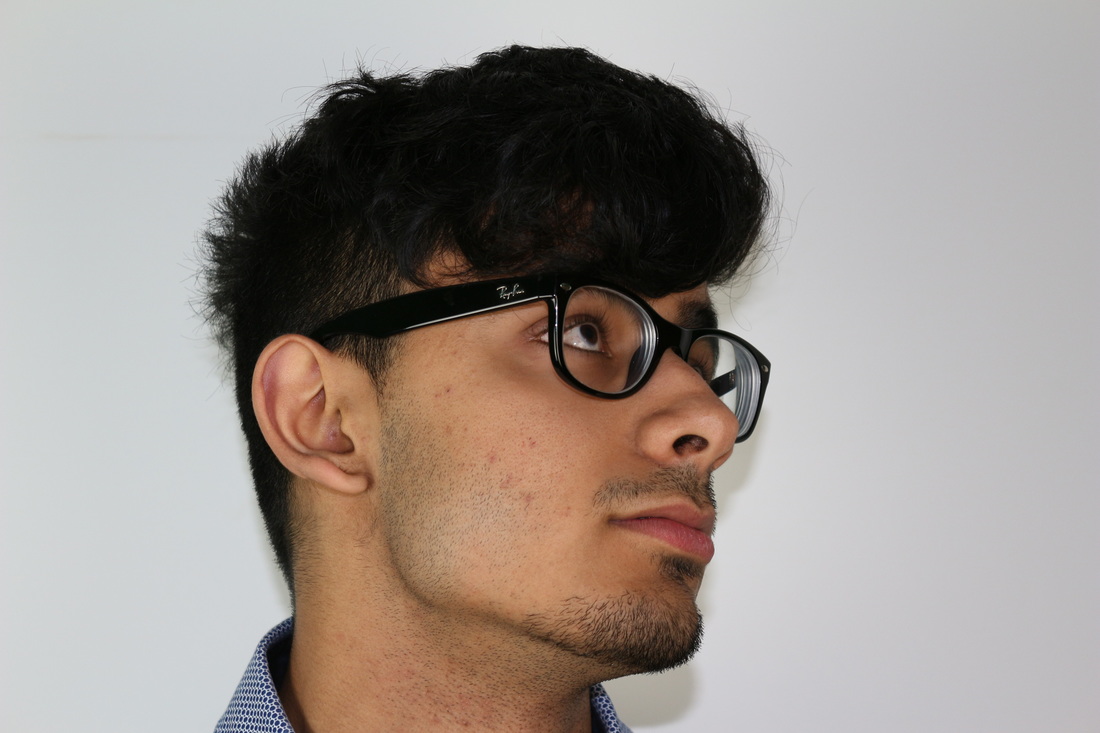
Photoshoot 4
This photoshoot was good because I was able to get my model to do a lot of different poses and I was able to not have glare on my models glasses and I also tried photos with my model with no glasses just in case that the photos that I took had glare on them and I couldn't get rid of the glare. I got mostly close up pictures of my models because of when I edit the photo and want to make the face of the model bigger the face wouldn't get pixelated. I also did the photoshoot on a white background because what I have noticed is that the white background mixed with the "Lighten" layer option makes the model blend in with the ink layers better.
Strongest Images
|

|
|
These are the strongest images from the photoshoot with my model because of the pictures where the model is wearing glasses I was able to move the lighting so that there is no glare on the models glasses and the photo with the model with no glasses is a strong one because of there is a lot of surface area where the ink can fit on the models face.
